
How to Prepare Your 3D Model for Printing: Tips for Success
A flawless 3D print starts long before the printer powers on—it begins with your digital model. Whether you're designing a prototype, product component, or artistic piece, properly preparing your 3D model can save time, reduce print failures, and improve final part quality. Here's a step-by-step guide to help you get your model print-ready.
7/2/20252 min read
1. Design with the Right Intent
Before you start modeling, define the purpose of the part:
Is it decorative or functional?
Will it experience stress, heat, or movement?
Does it require high dimensional accuracy or a smooth surface finish?
The answers will shape your decisions on geometry, tolerances, and material selection.
2. Check Model Scale and Units
Make sure your model is the correct size and uses the appropriate unit system (millimeters are standard in most slicers). A common beginner mistake is exporting in inches and ending up with a tiny or oversized print.
3. Optimize Wall Thickness
Thin walls can lead to weak prints or failed builds. General recommendations:
FDM printing: At least 1.2 mm wall thickness
Resin printing: 0.8 mm minimum for fine detail
SLS/industrial: Follow the printer manufacturer’s specs
Ensure details like embossed logos or holes are large enough to be visible and printable.
4. Hollow Large Models (If Needed)
Solid prints use more material and take longer. For large non-functional parts, consider hollowing the model and adding drain holes if you're printing with SLA resin or powder-based systems. This reduces weight, cost, and risk of print failure.
5. Choose the Right Orientation
The orientation of your model on the build plate affects strength, print time, and surface finish. Consider:
Minimizing support structures
Maximizing surface quality for visible areas
Orienting stress-bearing areas to be printed in the strongest axis (typically Z for FDM)
Use your slicer to experiment with angles and support settings.
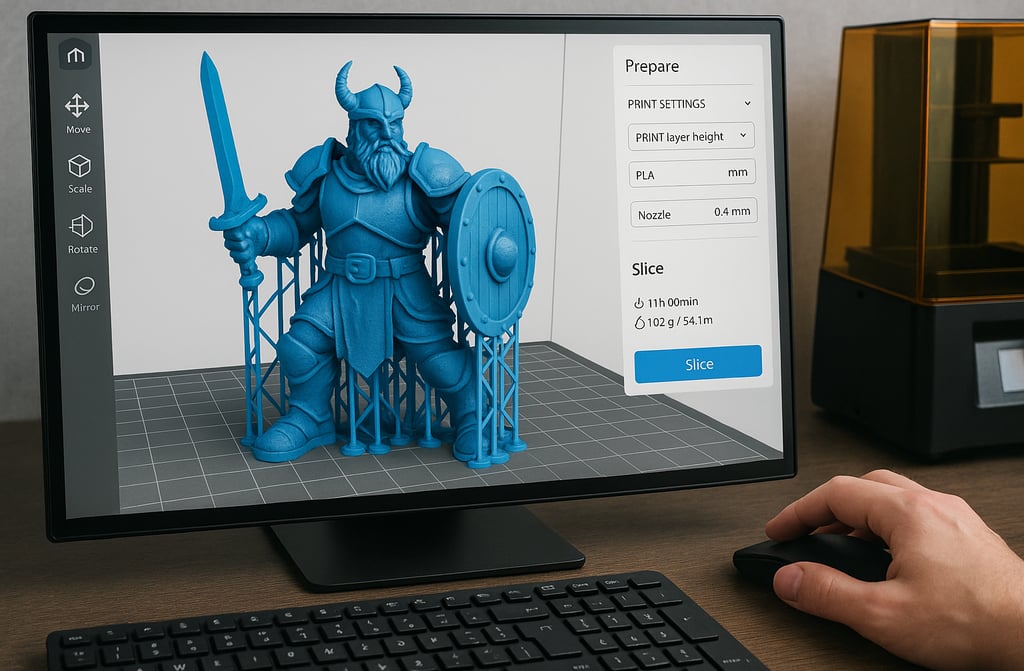
6. Export the Correct File Format
Most 3D printers accept:
STL – The standard format for most FDM and SLA printers
OBJ – Useful for models with color or texture data
3MF – A modern, compact alternative that stores more metadata
Be sure to export with the correct resolution—too low and your model will look faceted, too high and it will bog down the slicer.
7. Run a Test Print
When possible, print a scaled-down version or a section of your model to check tolerances, overhangs, and critical details before committing to the full part. This is especially helpful for mechanical prototypes or interlocking components.
Final Thoughts
Good 3D prints start with great preparation. By following these steps, you’ll improve quality, reduce waste, and bring your ideas to life more efficiently. Don’t let preventable errors derail your project—set your model up for success from the start. At Apex Fabricators, we help customers prepare models for a wide range of 3D printing methods, from hobby-grade FDM to production-ready SLS and resin. Whether you’re starting from a rough concept or a complete CAD file, we’ll ensure your part is optimized for the best possible results.